Dockerizing Your Next.js App in Easy Steps

Hi, I'm Satyanarayan Dalei, a mid-level Full-stack web developer from India. Currently pursuing a master's in Computer Application, I've been coding since 2020. My expertise lies in the MERN stack, and I am well-versed in the software deployment life cycle, covering both production and development environments.
To dockerize your Next.js app, the first step is to install Docker on your PC and ensure Docker Desktop is running. Once Docker is installed, start the Docker daemon by launching Docker Desktop. The two key steps are:
Install Docker
Start the Docker daemon (via Docker Desktop)
This article focuses on containerizing a Next.js app only. If you want to containerize both frontend (Next.js) and backend services, a different approach would be required, which I'll cover in a separate blog.
Step 1: Install Docker
Before proceeding, ensure Docker is installed on your machine.
Step 2: Setting Up Your Project
Inside your Next.js project folder, create a file named Dockerfile (without any extension).

Step 3: Writing the Dockerfile
In the Dockerfile, paste the following code:
FROM node:20

WORKDIR /app

COPY package.json ./

RUN npm install

COPY . .

RUN npm run build

EXPOSE 3000

CMD ["npm", "start"]
Explanation:
FROM node:20
This specifies that you want to use Node.js version 20 inside the Docker container. Think of this as installing Node.js on your PC, but within the Docker environment.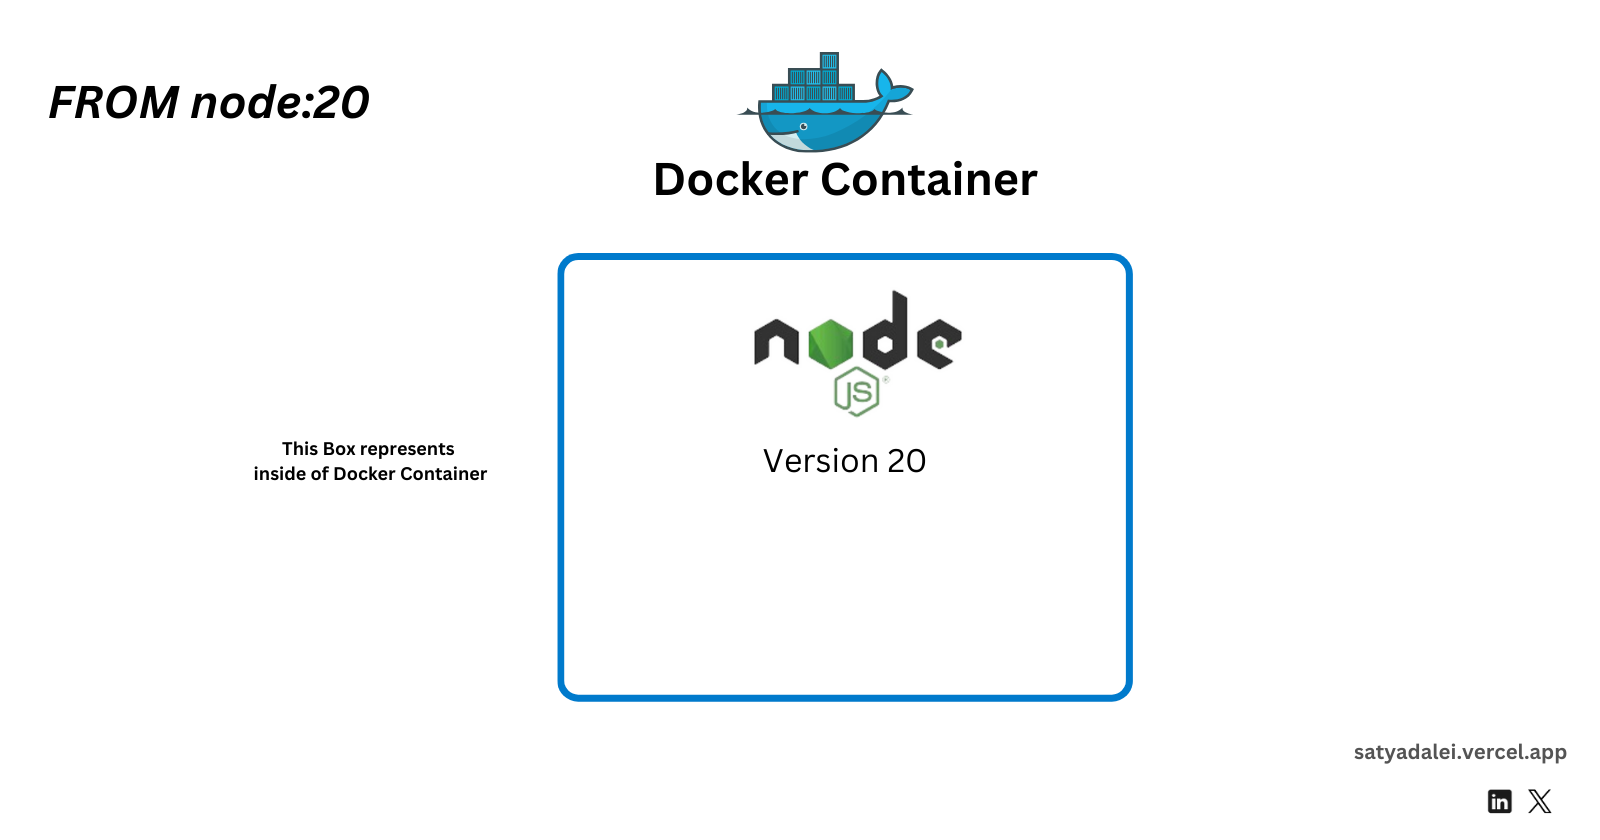
WORKDIR /app
This command creates a directory namedappinside the Docker container, which becomes the working directory.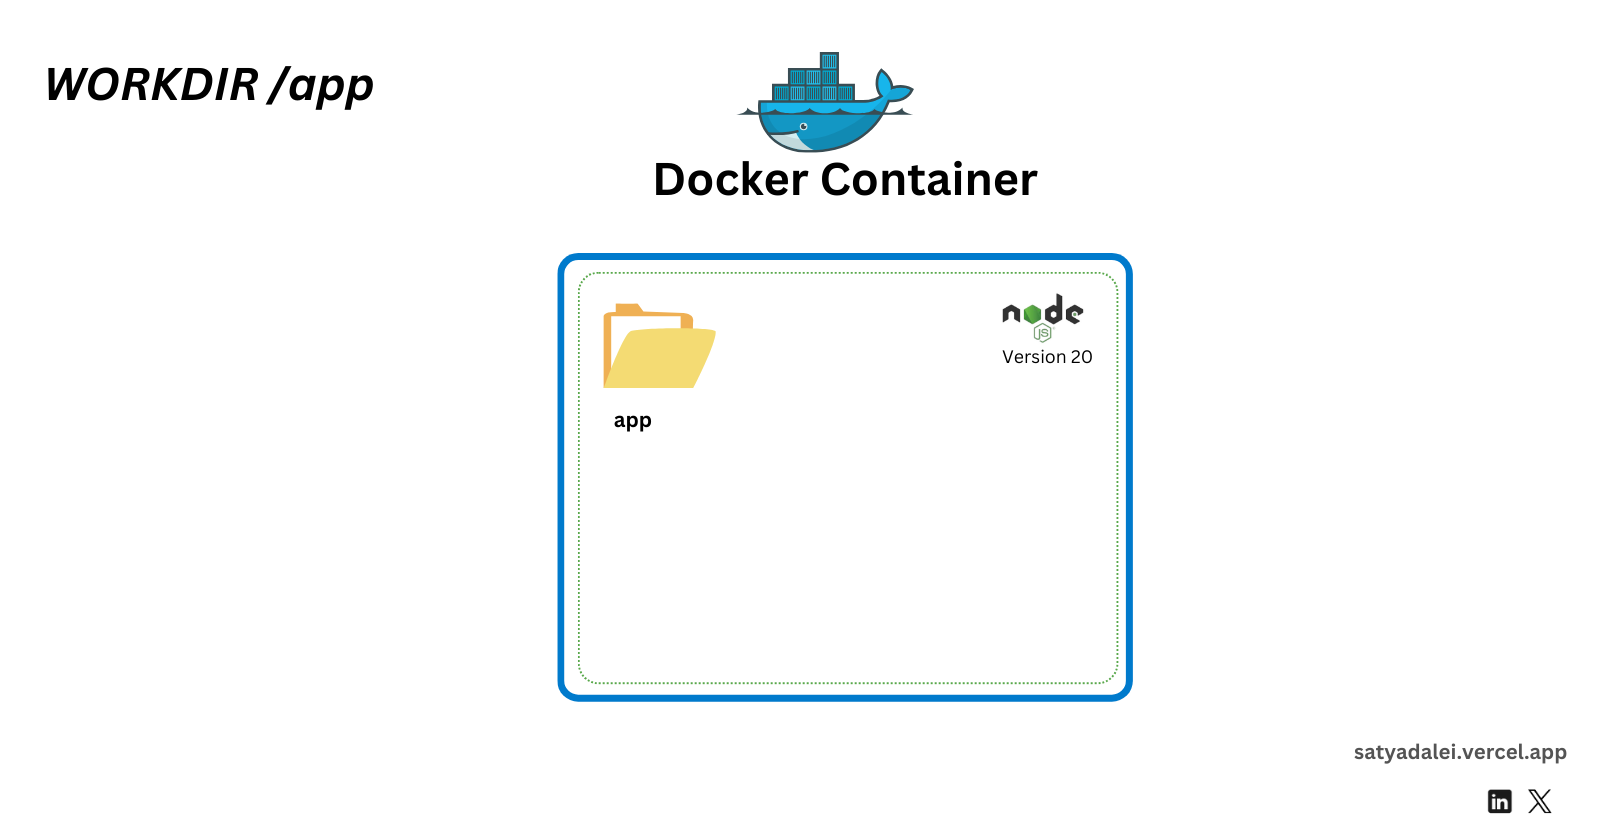
COPY package.json ./
This copies thepackage.jsonfrom your project directory into the/appdirectory inside the container.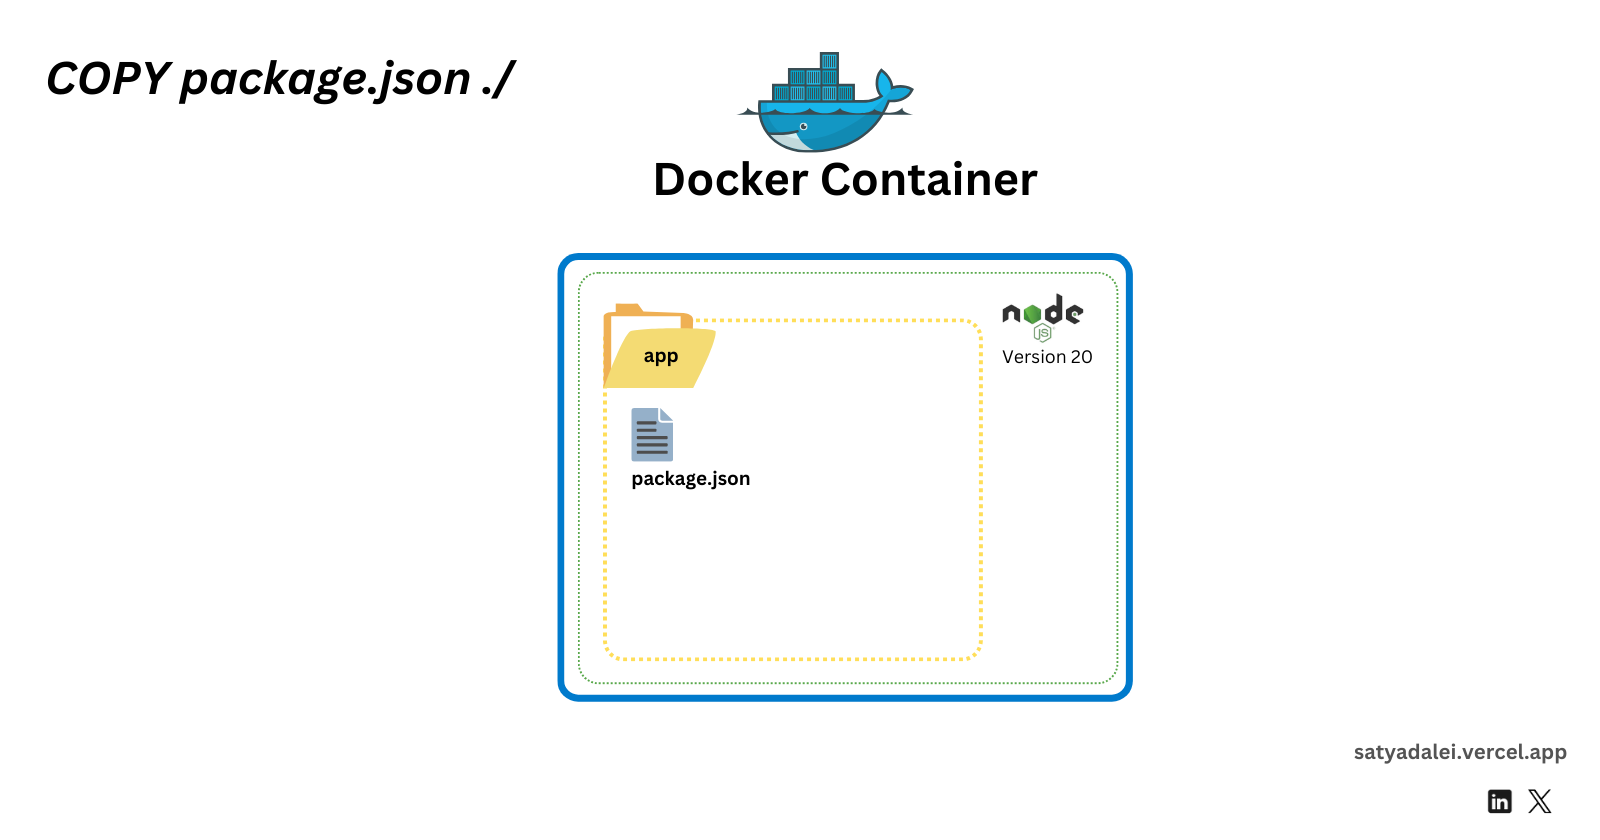
RUN npm install
This installs all the necessary dependencies inside the container’s/appdirectory, similar to creating anode_modulesfolder on your local machine.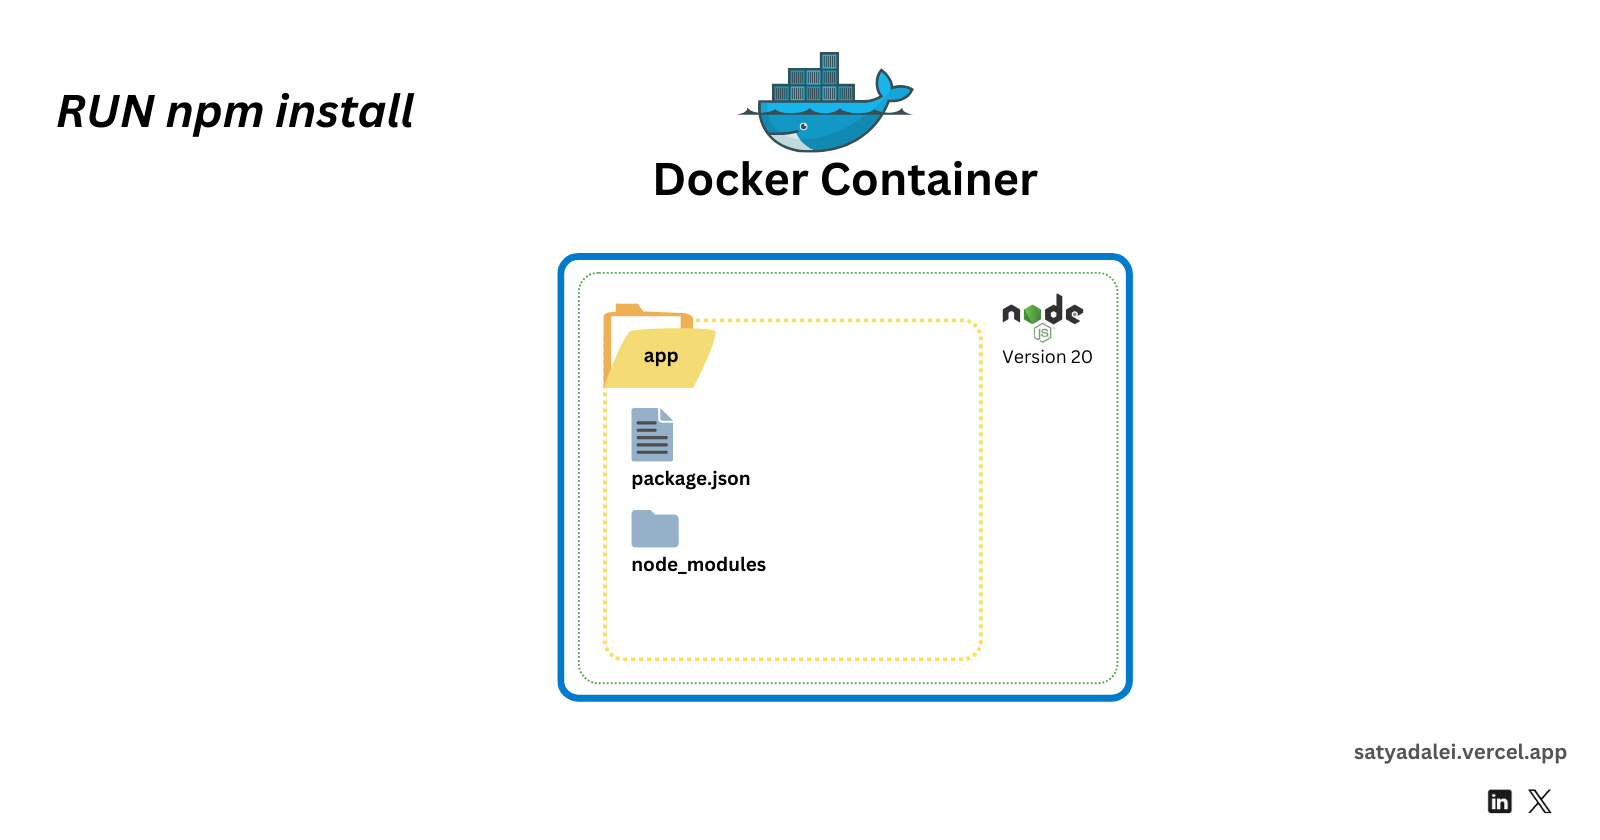
COPY . .
This copies all the files and folders from your project directory (excluding those listed in.dockerignore) into the container’s/appdirectory.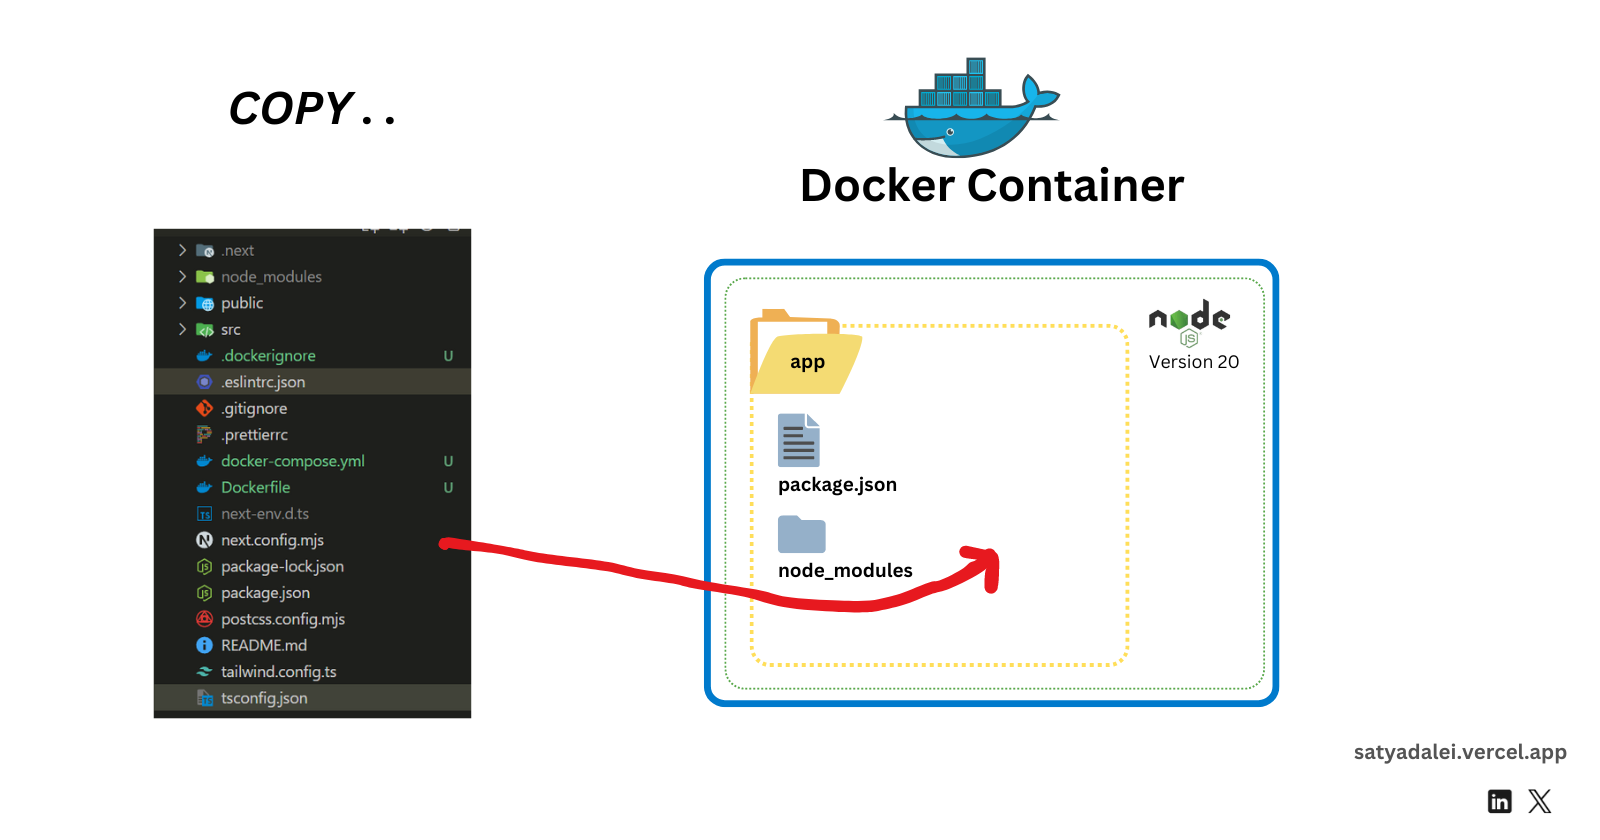
RUN npm run build
This builds the production version of your Next.js app.EXPOSE 3000
This tells Docker that your app will run on port 3000.CMD ["npm", "start"]
This command starts your Next.js application when the container runs.
Step 4: Creating a .dockerignore File
Next, create a .dockerignore file and add the following lines to exclude unnecessary files from being copied into the Docker image:
node_modules
npm-debug.log
.next
.git

Step 5: Creating docker-compose.yml
Now, create a docker-compose.yml file to define the Docker configuration for your Next.js app. Add the following content:
version: '3'
services:
  app:
    build: .
    ports:
      - "3000:3000"
    volumes:
      - .:/app
      - /app/node_modules

Explanation:
version: '3'
This defines the Docker Compose file format version.services:
This section defines the services (containers) that make up your application.app:
This is the service representing your Next.js application.build: .
This tells Docker to build the image for theappservice using theDockerfilein the current directory.ports:
"3000:3000": Maps port 3000 on the host to port 3000 in the container, allowing you to access the app athttp://localhost:3000.
volumes:
.:/app: Mounts your project directory to the/appdirectory inside the container. This enables live reloading, meaning changes you make on your host are reflected inside the container./app/node_modules: Creates a separate volume fornode_modules, avoiding conflicts between the host and container dependencies.
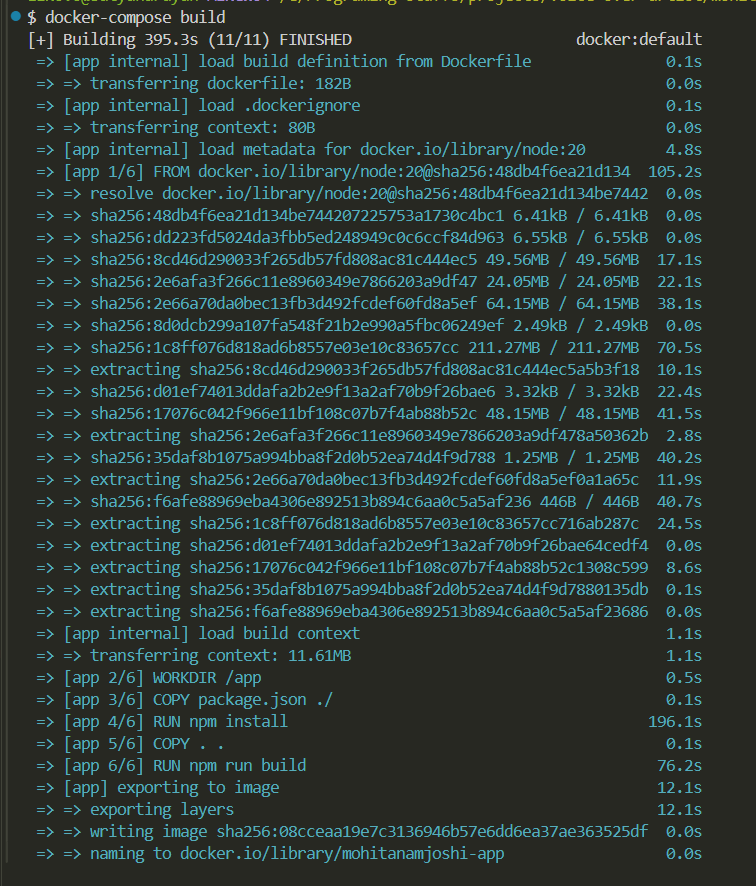
Step 6: Building the Docker Container
To build the Docker image, run the following command in the root directory of your project (where docker-compose.yml is located):
For Windows docker-compose build
(For Linux use sudo before commands for example sudo docker-compose build)
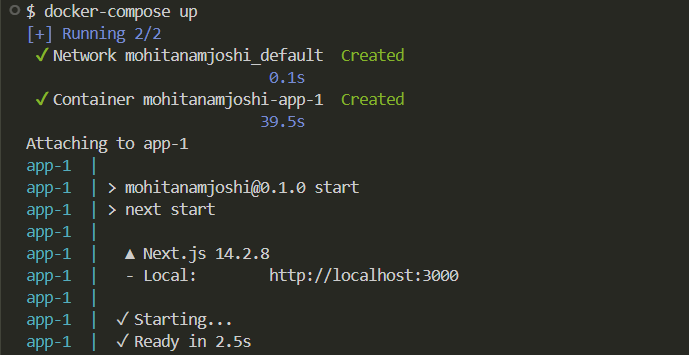
Step 7: Starting the Docker Container
To start the container, use the following command:
docker-compose up
Conclusion
Congratulations 🎉! You have successfully dockerized your Next.js app. Now, you can easily run your app in a containerized environment, ensuring consistency across different machines. In future posts, I'll explain how to handle both frontend and backend services in Docker.
Thank you for reading. Let me know your thoughts.


